


© 2020 - DashTech. All Right Reserved.
Internet
Top 5 Best And Cheaper BriteVerify Alternatives In 2024
Best And Cheaper BriteVerify Alternatives will be discussed in this article. Are you looking for some of the best but...
Read moreGadgets
Entertainment


How To Sell Online In 2024
Best and effective guide how to sell online will be described in this article. Starting a Business Online There are...

Northern Tool: Your Ultimate Destination for Tools and Equipment
Are you in need of reliable tools and equipment for your projects? Look no further than Northern Tool, the leading...

Salesloft: Revolutionizing Sales Engagement Platforms
Salesloft is a groundbreaking platform that is transforming the way sales teams engage with prospects and customers. It offers a...
Phones


MORE NEWS

How To Fix Tab Key Not Working On Windows In 2024
How To Fix Tab Key Not Working On Windows will be described in this article. In Windows 11, the Tab...

Top 10 Best Client Portal Software In 2024
Best and most amazing client portal software will be described in this article. Let's be honest: client demands are infinite....

Best MyFlixer Alternatives 26 Sites For HD Movies Streaming
MyFlixer, a popular online platform that offers a wide selection of movies and TV shows for streaming. With MyFlixer, you...

Top 10 Best and Most Authentic VPN Services in 2024
Best and most authentic VPN services will be explained in this article. The best VPN services encrypt your internet traffic...

The Best Instagram Captions and Selfie Quotes for Your Photos
This post will explain half face picture quotes. We all like to click ideal selfies and post it on social...
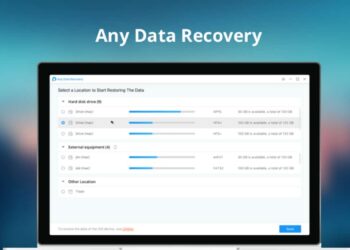
10 Best Free Data Recovery Software [2024 Edition]
In this post, we're going to list the complimentary and best free data recovery software for 2024 that can help...
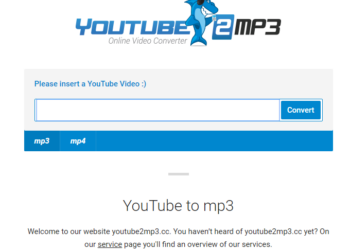
Youtube2Mp3 Converter Best 21 Alternatives Websites
Youtube2mp3 converter is the most popular YouTube converter, allowing users to convert YouTube videos to MP3 or MP4 format and...
Popular Posts